We want to honor the smaller, more enjoyable part of moving- decorating! Here's an art piece that any homeowner, renter or person with a room will enjoy! Nicole's instructions & tips follow.

I was inspired by a pinterest find, where the nails & string defined hearts, but have really wanted to create an artwork of one of my favorite sayings, so I took a different route.
Here's what you'll need to get this fun project going:
~scrap of wood (stained or natural)
~nails, I used decorative 1/2" nails with black heads (not the ones on faces:))
~yarn/string in various colors/widths
~scissors
~chalk
~hammer (smaller head is a bit easier to maneuver and hurts phalanges less)
~scrub brush, water, towel
1. Draw/trace your words onto the board using chalk
*whatever you put onto the board will have to be washed off once the nails are in place, so don't go too crazy
2. Hammer nails on chalk line using equal spacing and don't be afraid to stray from the original.
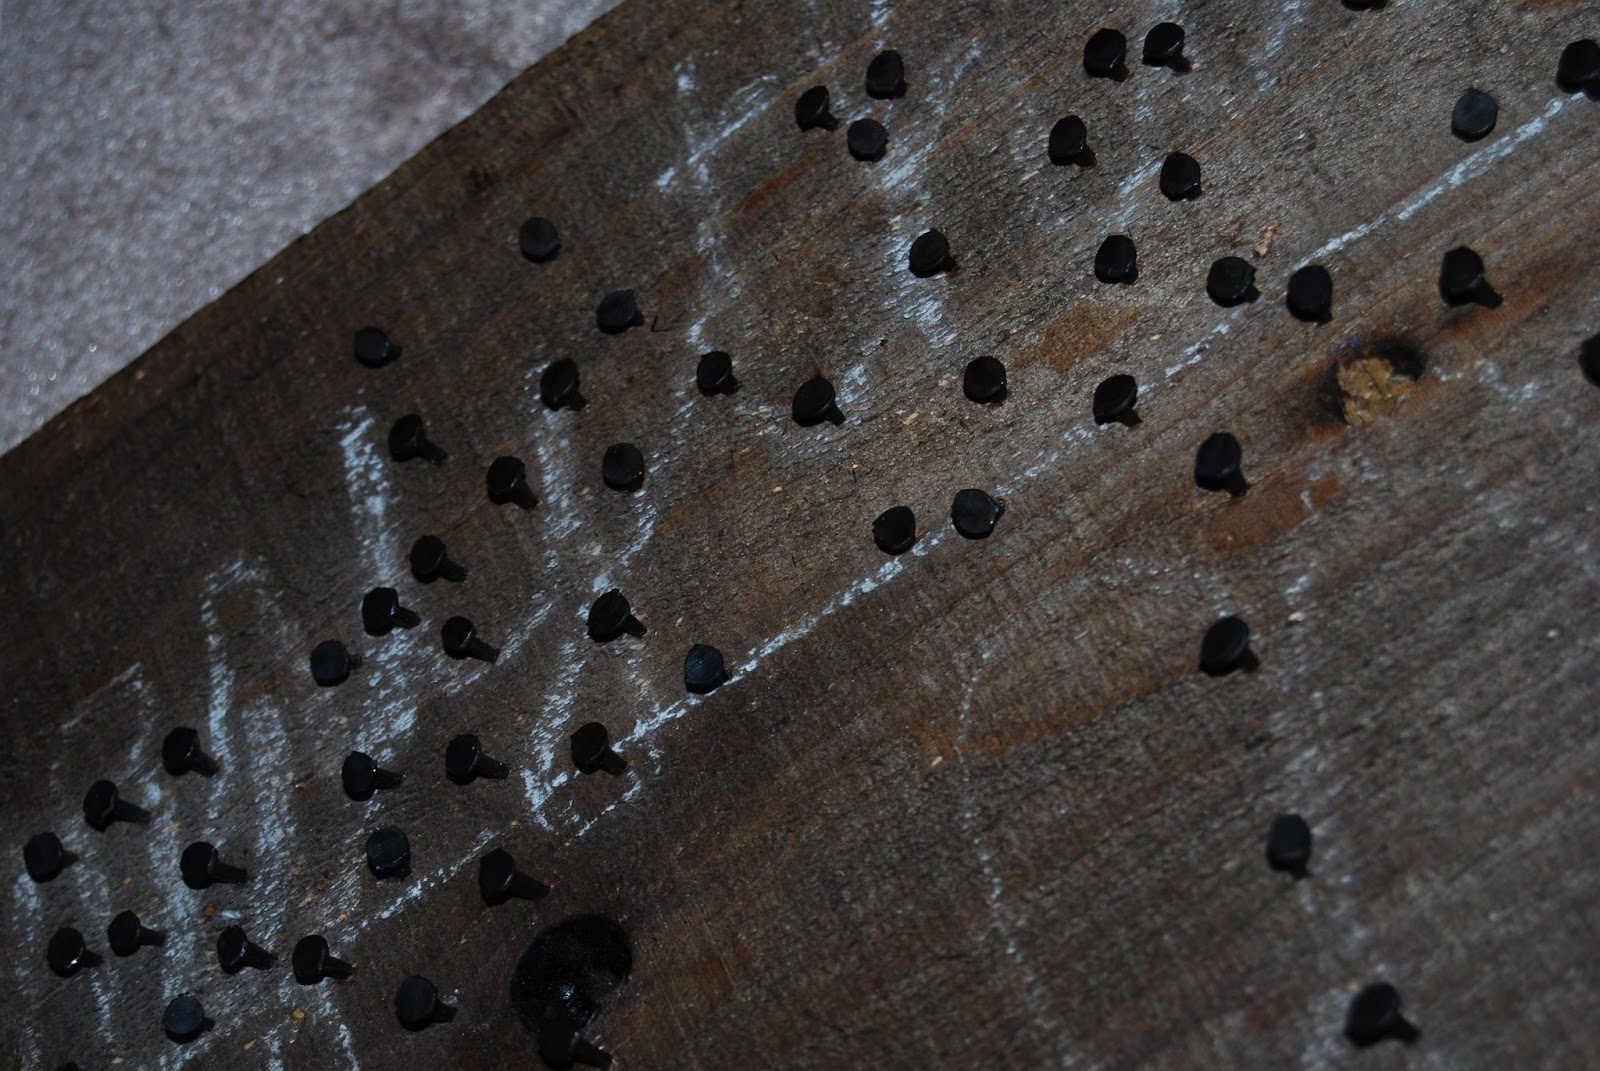
*you want the nails at least halfway in, so use those muscles and watch your fingers!
3. Be wiser than me and wash the chalk off with a scrub brush now, so you aren't doing it later with the string already in place.
4. Grab your string and get ready to wrap

*I started my string at the end of the last letter of each word and tied a single knot with a 4" tail. I then held the loose end with one hand as I began wrapping the spool of string around the first few nails to create tension
*If you are defining delicate things, a smaller/tighter string will create the most definition
I tried to use the yarn of "LOVE" to outline "do everything in" and it was to bulky/fluffy. 


*Once you reach the end of the last letter, cut your string from the spool leaving quite a bit of extra- trust me! Tie a double knot with the two strands and don't trim the extra.
6. Wrap the next word, leave plenty of tail, tie a double knot and finish remaining words/images.


*step back from the artwork and take a good, LONG look at it. Right color? Right spelling? I cut my tails and then realized I wrapped around the wrong nail and had to undo the entire word. stink! double check!
8. I wanted the tails of the cursive, smaller words to be unseen, so I used Tacky Glue to attach the ends to each other and then wrapped then underneath the nail head and trimmed them.

I hope this sparks an idea and helps make your casa more beautiful! If you get fired up and create your own, we'd love to see your spin on this. Email us a picture!
~Nicole
No comments:
Post a Comment